Panopto Capture is a web-based recorder that requires no download to use. For more resources on Panopto Capture, click How to Create a Video Using Panopto Capture.
1. Log in to the Moodle course where you added a Panopto block.
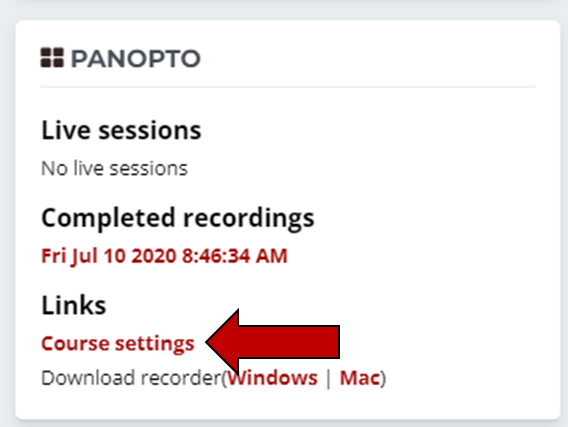
2. Scroll down to the Panopto block.
3. Under Links, Click on Course Settings.
4. The first page is always the Settings page. Click the X in the upper right corner to close this page. Closing the window will show the Panopto Home Screen.
5. From the Panopto Home Screen find the Create drop-down menu. Select Panopto Capture.

6. The Panopto Capture tab will open in the current browser. Use the three large icons at the top to set up the recording:
- Audio controls the sound input settings.
- Video controls the webcam settings (if desired).
- Screens and Apps control any screen or application capture during the video.
- Each browser causes different interactions with these buttons, so play with them until you get the configuration you wish.

7. When ready to record, click the red circle button. When recording is done, click the same button (it will change to a red square during recording).

8. After recording, a new screen will appear.

9. If unsatisfied with the video you've just recorded, click the Redo button to replace the last recording.
10. Rename the video by highlighting the current name and typing in a new one. Hit enter on your keyboard when done typing.

11. When all changes have been made, and you see the message It is now safe to close this tab or Your video is ready, you can close the tab in your browser to return to the main Panopto Home Screen.

Next Steps
Return to the Panopto Home Screen and click Refresh on the browser to see the new video. From here you can: