The left column of a Moodle page contain Blocks. The Navigation and Administration blocks are collapsed in the Navigation tray toggle. New Moodle courses start out with a set of default blocks. You can add additional blocks, remove blocks, or rearrange the blocks in the sidebars.
Add a Block
1. On your course page, click the Turn Editing On.

2. Scroll down to locate Add A BLOCK.
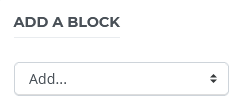
3. Select a block from the drop-down menu.
Note: Depending on which blocks are already used in your course, the list will change to show only available blocks.

4. Once you have selected the type of block to add, the page will re-load and the new block will be added to the left-column.
Move a Block
You can move a block to rearrange the order of the blocks in the left-column.
1. On your course page, click Turn Editing on button.
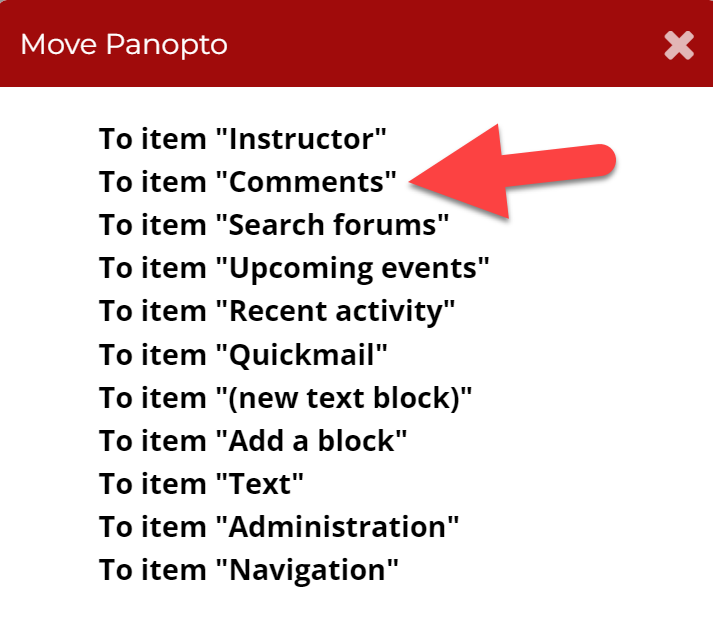
2. Click the Move icon (4 arrows) in the block. A dialog box will appear to Move "Item to move" to above your selection.
(Example: Move Panopto to above Comments)
Remove a Block
1. On your course page, click Turn Editing on button.
2. Click the Actions menu (gear icon) in the block that you wish to remove, select Delete [name of block].

3. A Confirm page will pop-up, click Yes to delete the block.

Hide a Block from Students
1. On your course page, click Turn Editing on button.
2. Click the Actions menu (gear icon) in the block that you wish to hide, select Hide [name of block].
