
Once questions have been created in the Question Bank, the quiz activity can be added into Moodle.
1. Click the Turn editing on button in the upper right corner of the screen.

2. Click on + Add an activity or resource in the lower right-hand corner of any Module,

3. From the menu that will open, select Quiz.

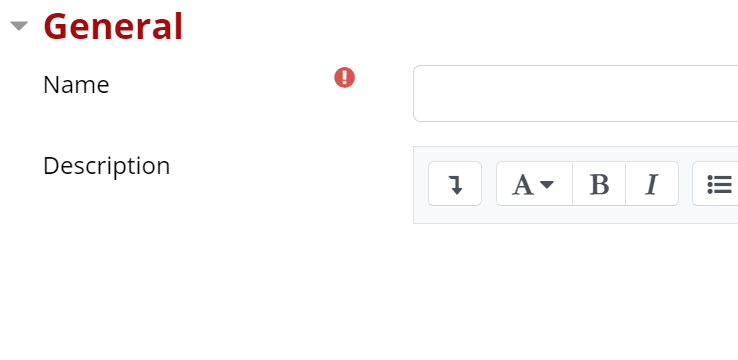
4. Enter a descriptive name for the file in the Name field.
5. Enter any special instructions for students in the Description field.
6. Click the Timing heading to configure the following:
- Open the Quiz: enable to select a date and time that students can start attempting the quiz. Questions are not visible before this time.
- Close the Quiz: enable to select a date and time that the quiz will close for all students, even if they are in the middle of an attempt.
- Time Limit: enable to set a time limit for each attempt. Students will not receive full time if they start their attempt too near the Close the Quiz date/time.
- When time expires: leave this set to the default, "Open attempts are submitted automatically."

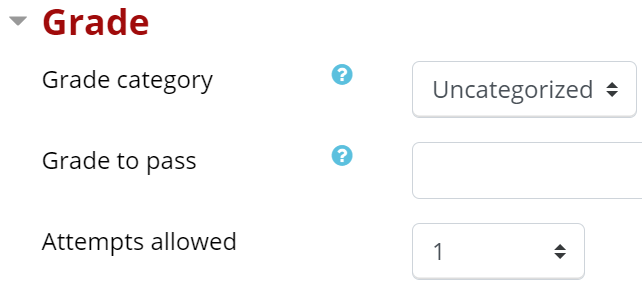
7. Click the Grade heading to open it and configure the following:
- If the Gradebook uses Categories, select the correct category.
- Leave Grade to Pass blank for now.
- Attempts allowed: select the number of attempts students should be able to make on the quiz.
8. Click the Review Options heading to choose the timing and visibility of quiz results.
A. The columns control the timing of student results:
- During the attempt (while they are actively attempting the quiz).
- Immediately after the attempt (after selecting submit for the final time).
- Later, while the quiz is still open (if students choose to re-visit the quiz after they submit but before the quiz closes).
- After the quiz is closed (after all attempts for all students have been ended).
B. The checkboxes control what is visible to students:
- The attempt: all the questions and choices.
- Whether correct**: if the student chose the correct answer.
- Points: the quiz grade.
- Specific feedback**: feedback in a question specific to a choice.
- General feedback**: general feedback in a question.
- Right answer**: the correct choice for all questions.
- Overall feedback: feedback for the entire quiz.
- The "**" checkboxes are controlled by the visibility of The attempt.

9. Click Extra restrictions on attempts if the quiz will be proctored.
- In the Require password field, type a quiz password.
- Use this same password when setting up the proctoring service (ProctorU or Examity).
- Do not share this password with students.

10. When done, click Save and Display.

Next Steps:
Access the Edit Quiz screen to add questions to the quiz and set the maximum grade.
Otherwise, return to the Quiz main resource page for more information on other topics.