The Attendance activity is designed for teachers to be able to take attendance during class, and for students to be able to view their own attendance record.
Add an Attendance Activity
1. On your Moodle course, click Turn editing on.

2. Click +Add an activity or resource in the section where you want to add the Attendance activity.

3. In the Add an activity or resource window, select Attendance. The Adding a new Attendance page will open.

4. On the Adding a new Attendance page, enter a name in the Name field, and enter additional information in the Description field (optional)

5. Select grading options including grade type and maximum grade.

6. Click Save and Display button.

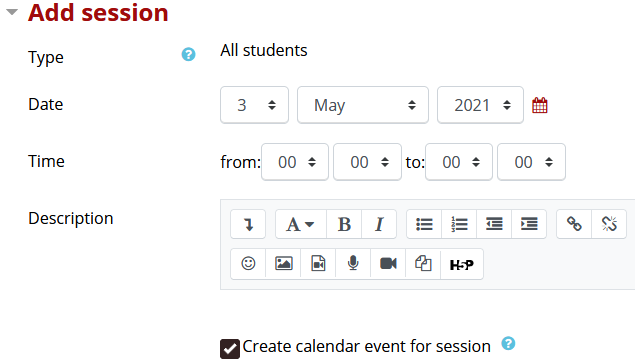
7. On the next screen, click the Add session button

8. Set date and time settings under the Add session. If you want each session to appear on students calendars, check the Create calendar event for session box.

9. If using the same Attendance activity for the entire term, you can copy and paste the times for all days and weeks of the course in the Multiple sessions section.

10. If you want students to be able to fill out their own attendance, check the box in the Student recording section.

11. Click Add button to save the session(s).

Delete a Session
If you need to delete a session, click trash can icon from the session list.

Take attendance during a class
1. Click the triangle shaped icon to take attendance during a class.

2. If all students are present you can mark them simultaneously by choosing all for Set status for option, or mark individual statuses if not all students are present. You can also make notes for each student if needed.
- P=Present
- L=Late
- E=Excused
- A=Absent

3. Once all statuses are entered, click Save Attendance button.

