The Glossary activity allows students to create a collection of terms and definitions as in a dictionary that students can search or browse.
Add a Glossary Activity
1. On your Moodle course, click Turn editing on.

2. Click +Add an activity or resource in the section where you want to add the Glossary activity.
3. In the Add an activity or resource window, select Glossary. The Adding a new Glossary page will open.

4. On the Adding a new Glossary page, enter a name in the Name filed, and provide instructions or background information for your students in the Description field (optional).

5. Adjust the Glossary settings in the Entries section.
- Approved by default: If set to Yes then new entries appear automatically. If not, then the teacher must approve each one first.
- Always allow editing: If set to Yes, students can edit their entries at any time. If not, then they can only edit for a certain period.
- Duplicate entries allowed: This allows the entry of more than one definition for a given word.
- Allow comments on entries: Students and teachers can leave comments on glossary definitions. The comments are available through a link at the bottom of the definition.
- Automatically link glossary entries: If the Glossary auto-linking filter is enabled by an administrator (see Managing filters for further details), then turning this on allows individual entries in this glossary to be automatically linked whenever the concept words and phrases appear throughout the rest of the same course.

6. In the Appearance section, configure display formats of the glossary activity.
- Display format: Determine the specific way what each entry will be shown within the glossary.
- Approval display format: It is possible to set an alternative display format for when entries are approved that can differ from the display format on the course page.
- Entries shown per page: Enter the number of entries to show to the user looking at the glossary activity.
- Show alphabet links: If set to Yes , users can browse the glossary by letters of the alphabet. Show 'ALL' link: If set to Yes, users can browse all the entries at once
- Show 'Special' link: If set to Yes, users can can browse the glossary by special characters, such as @ and #.
- Allow print view: This provides a printer-friendly version link for students.

7. In Ratings section, determine how you will grade entries.
Glossary entries can be rated using a scale. By default, only teachers can rate glossary entries. Any ratings given are recorded in the gradebook.
- Roles with permission to rate: Identify users who have permission to rate items. This feature is not enabled until the activity is created. (Note: Once the Glos activity is created, the list of roles may be changed via the permission link.)
- Aggregate type: Choose aggregate type from the drop-down list. The options are No ratings, Average of ratings, Count of ratings, Maximum rating, Minimum rating, and Sum of ratings.
- Scale: Sets the Scale type and maximum score for the activity.

8. Click Save and return to course button at the bottom of the page to return to your course main page.

Add a Glossary Entry
1. On your Moodle page, click the link to the Glossary activity.
2. Click Add entry button.

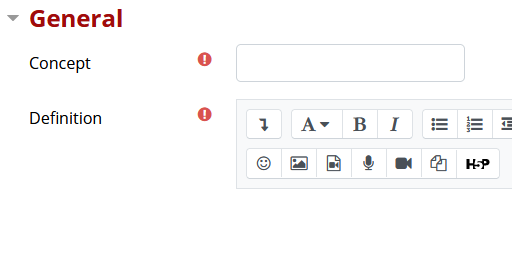
3. In the concept filed, enter the word or phrase you want to define, and in the Definition field, enter a definition.
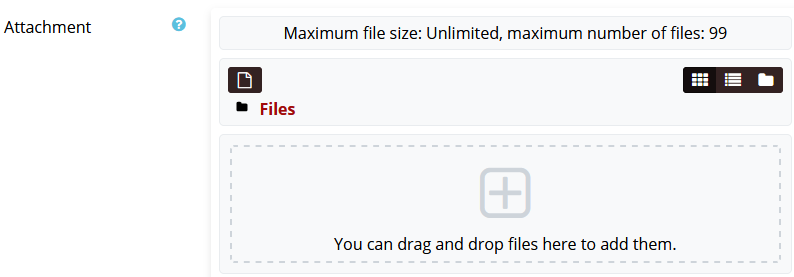
4. If you want to add add an attachment such as a picture or an article, drag and drop a file (or files) to the Attachment area.
5. Click Save changes button to add the word to the Glossary.