The WIki activity allows students to create a collaborative document by building pages together, similar to Wikipedia. Unlike other collaborative editing programs (such as Google docs) the Wiki is a standard Moodle activity and so no extra permissions or logins are needed. Although Wikis are usually collaborative, it is possible to allow each student to create their own Wiki for individual use.
Add a Wiki Activity
1. On your Moodle course, click Turn editing on.

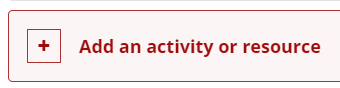
2. Click +Add an activity or resource in the section where you want to add the Wiki activity.
3. In the Add an activity or resource window, select Wiki. The Adding a new Wiki page will open.

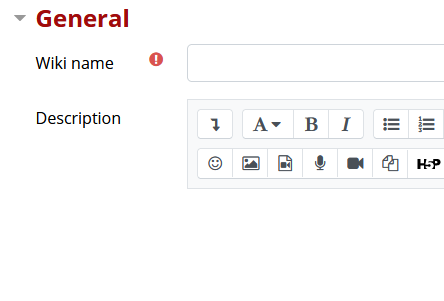
4. On the Adding a new Wiki page, enter a name for the activity in the Wiki name field and provide instruction of the Wiki activity in the Description field (optional).
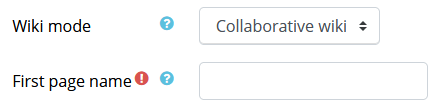
5. For Wiki mode, choose Collaborative wiki if you want students to work together in the same wiki, or Individual wiki if you want them to each have their own wiki.
6. Choose the First page name carefully. The name you add here will form the first page of your new wiki. It is a required field and once a name has been entered, it can't be changed.
7. Click Save and display button at the bottom of the page.
8. On the next page, click Create page button to create the first page.
Adding Pages to Wiki
1. Type the name of your page inside double brackets. You can preview it by clicking the Preview button towards the bottom of the screen.
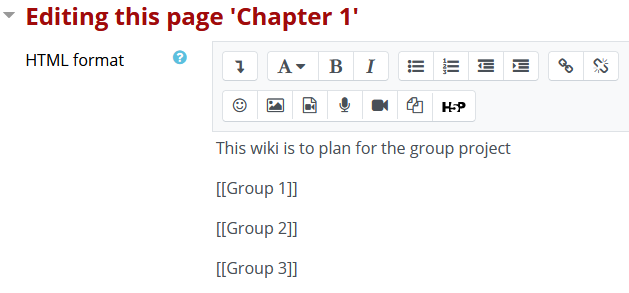
2. Click the Save button.
3. Now click the link in italics for one of the pages and you will be prompted to create it in the same way you create the first page.
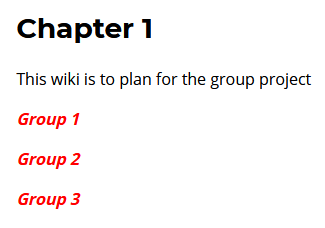
4. A page once created no longer has italics.

Edit Wiki in General
1. On your Moodle page, click the Wiki activity link.
2. The options for editing, commenting, viewing history, map, and files may all be accessed from the drop down box above the title.
- The View tab allows you to display and view the wiki page.
- The Edit tab allows you to edit the wiki page.
- The Comments tab allows you to see and add comments about the wiki - providing comments are enabled on the site.
- The History tab allows you to see what has been altered in the wiki.
- The Map tab allows you to view areas of the wiki such as a list of pages, updated or orphaned pages etc. To select what you want to see, click the Map menu dropdown box.
- The Files tab allows you to access any files which have been added to the wiki. Only the teacher role can by default add and manage files to the Files tab,
- The Administration tab is available to editing teachers in the course to delete page versions or selected pages.
