- Adding Text Comments
- Adding Audio Comments Using Telephone
- Adding Audio Comments Using Microphone
- Adding Video Comments
- Uploading File Comments
1. Click Comment at the bottom-left. This will take you to the first slide of your VoiceThread.

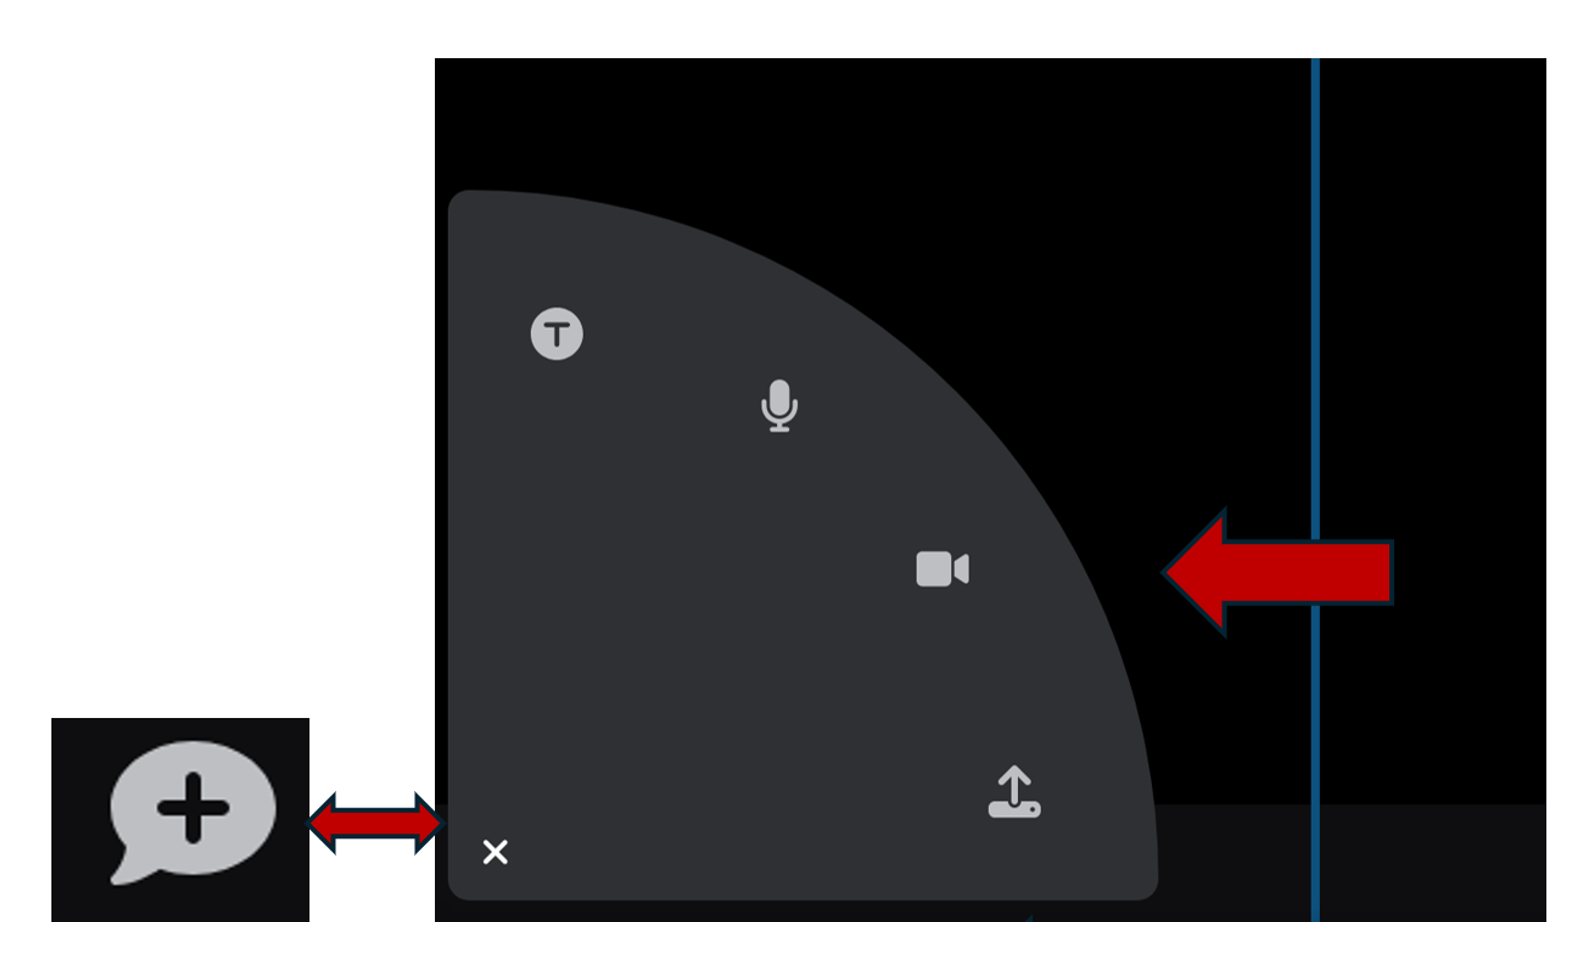
2. Select your desired comment method. Note: You can change the comment methods you and students can use in the Playback Settings.
There are several commenting options in VoiceThread:
Text, audio, video, upload audio or video from a per-recorded file.

1. Click the commenting plus sign, and select T.

2. Type your comment in the pop-up comment window, and click Save.

Adding Audio Comments Using Microphone
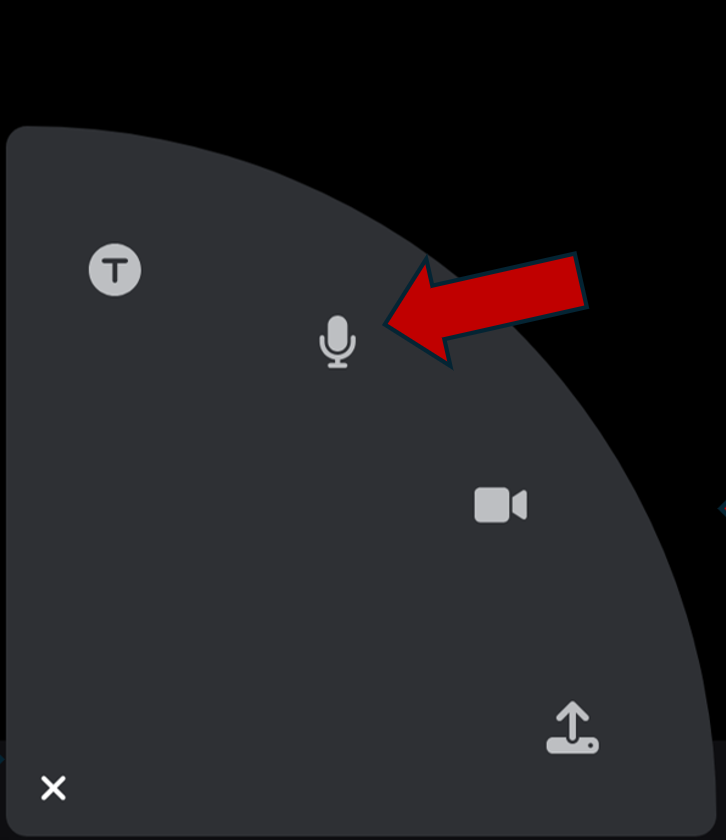
1. Click the commenting plus sign, and select the Microphone icon.

2. You may be prompted by your browser to grant VoiceThread access to your microphone, then click Allow.
3. After the permission is granted, VoiceThread will start 4-3-2-1 countdown. Wait for the countdown to finish, and then begin to speak. If you wish, annotate the image using the pencil tool at the bottom of the screen. You can click the pencil tool and select desired color for annotation.
Note: As default, the pencil tool is set to Fade, so your drawings and annotations will be gradually disappearing on the screen. If you want your drawings and annotations stay on the screen while you are recording, click the word Fade and it will turn to Not Fade, then your drawing will not fade away.

4. When you are finished, click Stop Recording.

5. Listen to your comment and click Save button if you are satisfied.

1. Click the commenting plus sign, and select the video camera icon.

2. You may be prompted by your browser to grant VoiceThread access to your microphone and camera, then click Allow.
3. After the permission is granted, VoiceThread will start 4-3-2-1 countdown. Wait for the countdown to finish, and then begin to record. If you wish, annotate the image using the pencil tool at the bottom of the screen. You can click the pencil tool and select desired color for annotation.
Note: As default, the pencil tool is set to Fade, so your drawings and annotations will be gradually disappearing on the screen. If you want your drawings and annotations stay on the screen while you are recording, click the word Fade and it will turn to "Not Fade", then your drawing will not fade away.

4. When you are finished, click Stop Recording.

5. Listen to your comment and click Save button if you are satisfied. 4. Listen to your comment and click Save button if you are satisfied.

1. Click the commenting plus sign, and select the file upload icon.

2. Browse for and select an audio or video file on your computer. Once the file has finished uploading, the comment will appear on the left side of the screen.

Next Step
Once comments have been added to the VoiceThread, share the VoiceThread with class.

