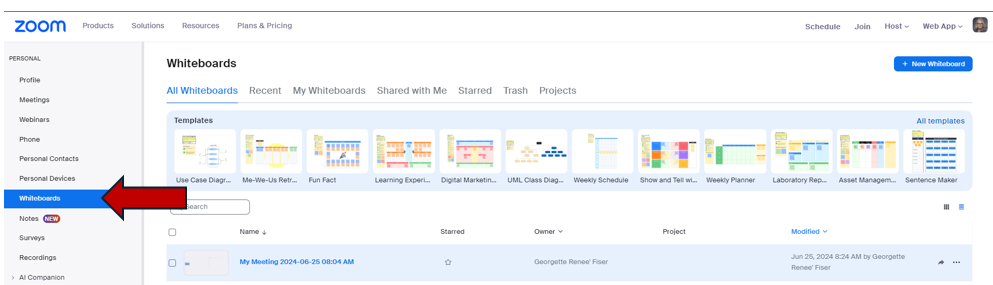
1. Click on Whiteboards in the side menu to open the Whiteboards page (can also be opened during a meeting). Note: Whiteboard settings can be changed prior to a meeting by selecting Settings from the side menu, then Whiteboard from the top tab.
2. Share a new or existing Whiteboard directly from your Zoom meeting
- Select Whiteboard from the options available. If not directly in the bottom menu, click on the More button.
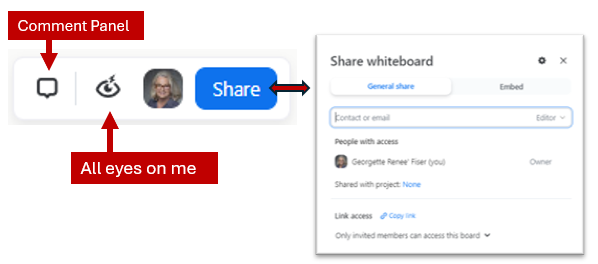
- See Sharing a Whiteboard for more information.

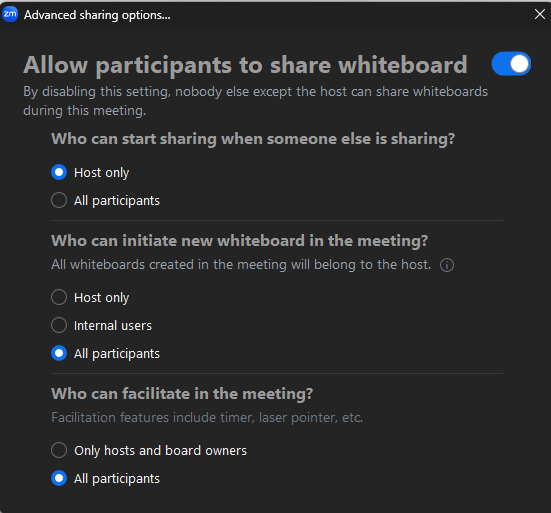
3. Review the Advanced sharing options by selecting the up arrow
4. Whiteboard features. See support article on how to use all the Zoom whiteboard features. Whiteboard has many templates to choose from create a blank whiteboard.

5. Whiteboard tools and objects

6. Whiteboard organization and facilitation tools

7. Collaboration
Return to Faculty Zoom Resources