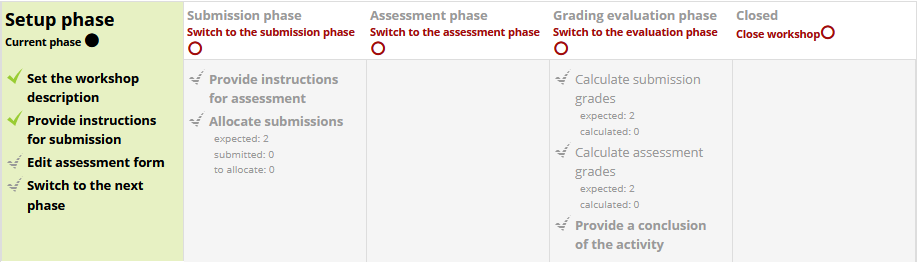
Workshops are composed of five phases, each running on settings configured by the instructor.
- Setup phase: In this phase, the instructor set s the general settings for the activity. These include settings for submissions, assessment form, availability, and access restrictions, etc. During this phase, the activity is not open to students.
- Submission phase: In this phase, students submit their work for peer assessment based on the submission settings configured by the instructor in the Setup phase.
- Assessment phase: In this phase, students' submissions are open for the peer assessment based on settings configured by the instructor, such as the allocation of submission and assessment form. Transition to this phase from the Submission phase can be done manually, or set to switch after the submission deadline.
- Grading evaluation phase: In this phase, students' grades are finalized based on the weighted components configured by the instructor. Instructors can override grades during this phase.
- Closed phase: In this final phase, final grades and feedback will be released to students.
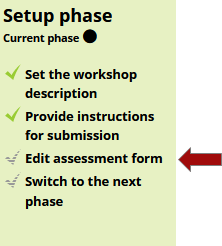
1. Setup Phase
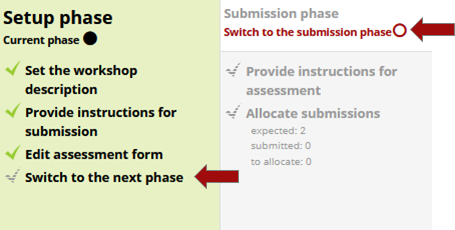
Once a Workshop activity has been created and saved, it is in the Set up phase. Make sure you complete the Setup phase and switch to the Submission phase when you want your students to begin the activity.
In this phase, you must now click Edit assessment form to provide detailed grading criteria students will need for when they do their peer assessments later on.
The assessment form will depend on the Grade strategy chosen when the workshop activity was created. The structure of the Editing assessment form page is different based on the Grading strategy selected (Accumulative grading, Comments, Number of errors, and Rubric)
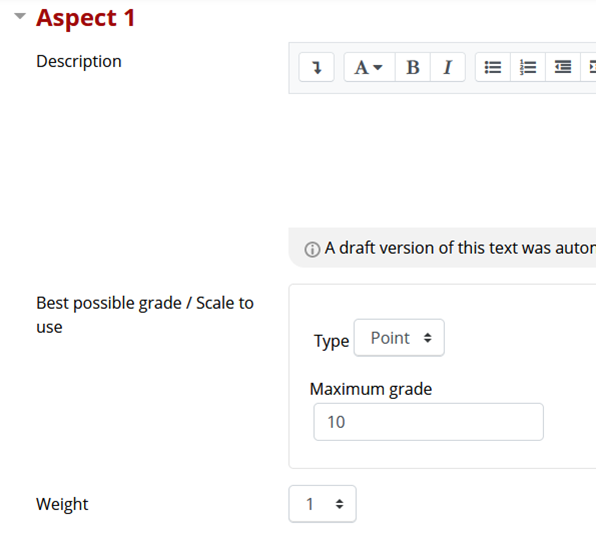
Accumulative grading requires students to assess their peers in relation to a set of aspects and give a numerical rating.
In the Description box, enter a name for the Aspect of assessment.
Select the grading type and enter Maximum points for the aspect of assessment.
To determine the Weight of the aspect of assessment out of the total assessment grade, select a value between 0 and 16 in the Weight drop-down menu.
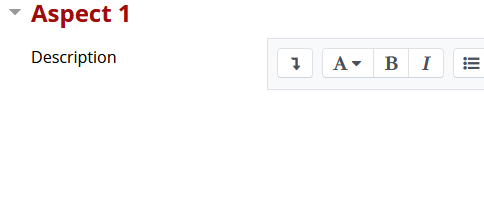
Comments asks students to provide feedback without a numerical grade.
In the Description box, enter a name for the aspect of assessment. Students will type their assessment comments for each Aspect.
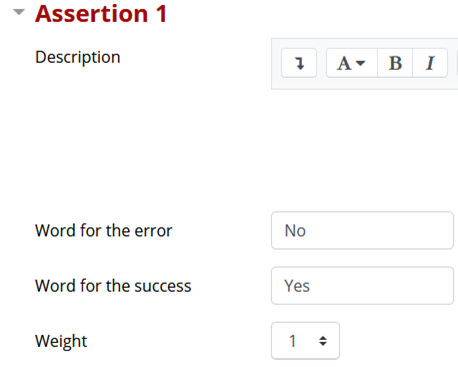
Number of Errors requires students to assess peer work by marking assertions as their success or errors.
In the Description box, enter a name for the assertion for error.
In the Word for the error and Word for the success fields, type words corresponding to the error and success check boxes that students will use in the assessment.
To determine the Weight of the aspect of assessment out of the total assessment grade, select a value between 0 and 16 in the Weight drop-down menu.
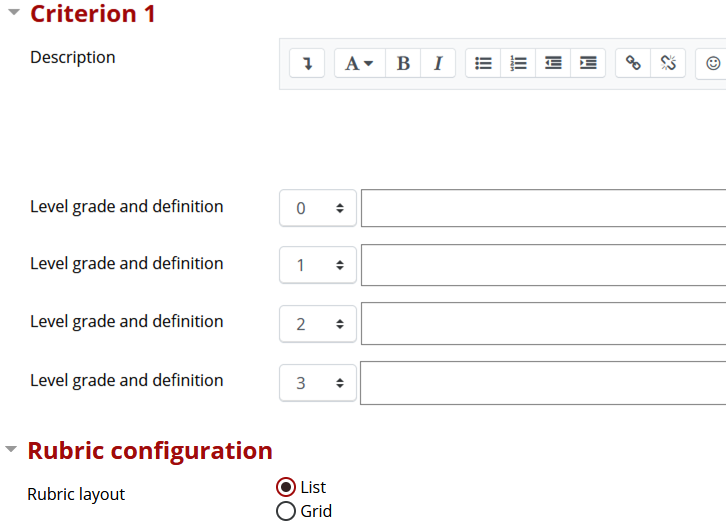
Rubric allows students to grade peer work based on a set of criteria.
In the Description box, enter a name for the Criterion of assessment.
To build level grades for each Criterion, in each Level grade and definition row, type a definition and select a corresponding value from the drop-down.
In the Rubric configuration section, select the Rubric layout as either List or Grid.
- To save while configuring the Assessment form, click Save and continue editing button.
- To preview the form, click Save and preview button . The Assessment form preview window will open.
- To finish editing, click Save and close button. The workshop page will open.

When you are ready to switch to the Submission phase which let's students submit their work. Click the text at the top of Submission phase or click the text in the Setup phase.
2. Submission Phase
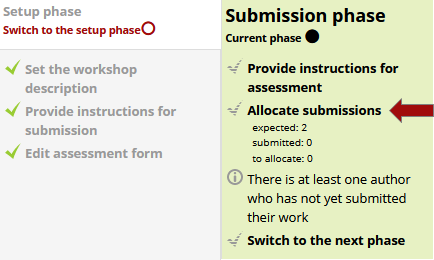
Students will now be able to submit their work in this phase until any deadline you specified.
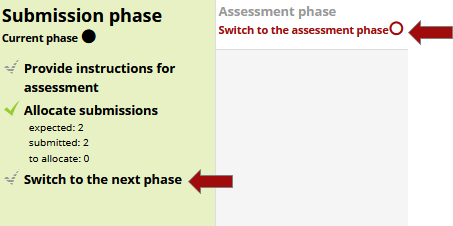
You can see how many have submitted and how many still need to submit.
Click the link Allocate submissions.
On the submission allocation window, decide a allocation methods from the following options:
- Manual allocation: Allows you to manually choose which student assesses whose work.
- Random allocation: Allows you to allocate submission automatically with a few specifications.
- Scheduled allocation: Allows you to schedule an automatic random allocation at the transition from the submission phase to the Assessment phase. Note: Automatic transition between phases must be enabled under Availability section when you create the Workshop activity.
For random allocation and Scheduled allocation, click Save changes button to finish allocating submission. A confirmation message will open. To confirm the allocation, click Continue. The submission allocation window will open.
3. Assessment Phase
Once submissions are allocated for peer assessment, the workshop is ready to be transitioned to the Assessment phase. There are two ways to start the Assessment phase:
Scheduled switch: If scheduled switch is enabled in the workshop settings, your workshop will be scheduled to switch automatically at the end of the submission phase.
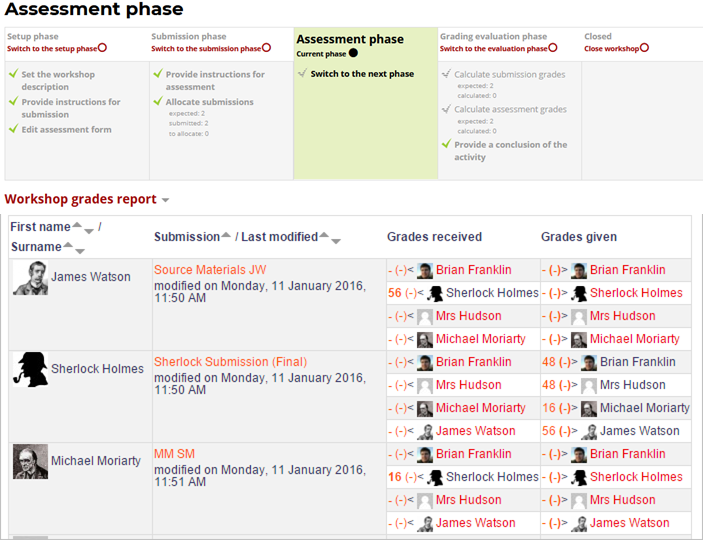
Manual switch: When you are ready to switch to the Assessment phase, click the text at the top of Assessment phase or click the text in the Submission phase. The Assessment phase column will activate.
Students will assess the workshop of their peers according to the instructions and criteria you gave them. You can monitor their progress by looking at the grades underneath the Assessment phase screen.
4. Grading Evaluation Phase
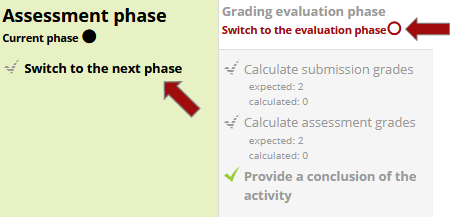
When the Assessment phase is completed, click the text at the top of Grading evaluation phase or click the text in the Assessment phase to activate the Grading evaluation phase.
The major task during the Grading evaluation phase is to calculate the final grades for submissions and for assessments, and to provide feedback for authors and reviewers. Students will no longer be allowed to submit work or assess each other's work. Instructor can manually override the calculated grades. Also, selected submissions can be set as published so they become available to all students in the next phase. Students will no longer be allowed to submit work or assess each other's work.
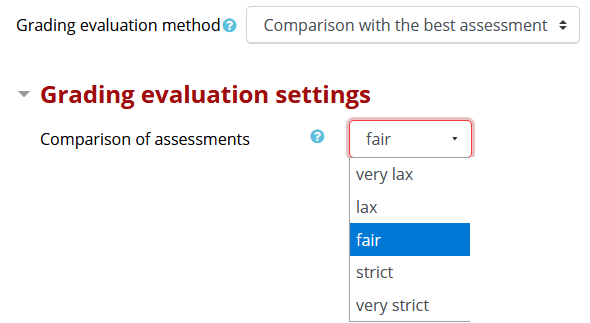
Grades for assessment are calculated with Comparison with the best assessment method. The Comparison of assessments setting has 5 options: Very lax, lax, fair, strict, and very strict.
It specifies how strict the comparison of assessment should be. By using comparison with the best assessment method, all assessments will be compared with the best assessment picked up by workshop. The more similar one assessment is with the best assessment, the higher grade this assessment will get, and vice versa. This setting determines how quickly the grades fall down when the assessments differ from the best assessment.
5. Closing Phase
To finish grading and release graders to students, in the heading of the Closed column. Click the text of Close workshop. The activity will be closed and grades will be calculated and released to students.
Instructor can select particular submissions to be published for all course participants to see once the workshop has been closed.
To set submissions to be published,
1. Click the Switch phase icon for the Grading evaluation phase, and under Workshop grades report, click the Title of the submission to publish.
2. Scroll down the page and under Feedback for the author, select the Publish submission check box.

3. Click Save and close button. When the workshop is closed, any published submissions become visible to course participants.