The instruction below provides a step-by-step instruction of how to add a VoiceThead that has been shared with you to your Moodle course.
There are two types of shared VoiceThreads:
- VoiceThreads that are created and shared by others
- VoiceThreads that you created using your CLID@louisiana.edu account, and shared with your ULID@lousiana.edu account (Note: It only applies if you created VoiceThreads in Moodle 3.1 and transferred them to Moodle 3.9).
Step 1: Finding VoiceThreads shared with you
1. Open any VoiceThread in your previous Moodle course, and click Close icon at the right-top corner to enter VoiceThread Home screen.

2. Click on the Menu icon in the top-left corner of the page, and click Shared with me to see all VoiceThreads shared with you. Or, click the Group name if the VoiceThreads have been shared with you via a Group.


Step 2: Getting a share link of a VoiceThread
1. Locate a VoiceThread that you want to add to your course.
(Note: Be sure the VoiceThread does not include any comments that you do not want to share with your students in the new course.)
1) Select the VoiceThread that you want to copy by clicking the little square box next to the
VoiceThread.
2) Click Share icon of the VoiceThread.

2. On the Basic tab
- Click on the “Link” option on the left.
- Uncheck the boxes for allowing anyone to view and comment if you want to change these permissions.
- Click “Copy Link” button. This will copy the link to your computer’s clipboard automatically so that you can paste it into the desired location.

Step 3: Adding a VoiceThread
See Add a VoiceThread link to add a VoiceThread to your course.
Step 4: Setting up a VoiceThread
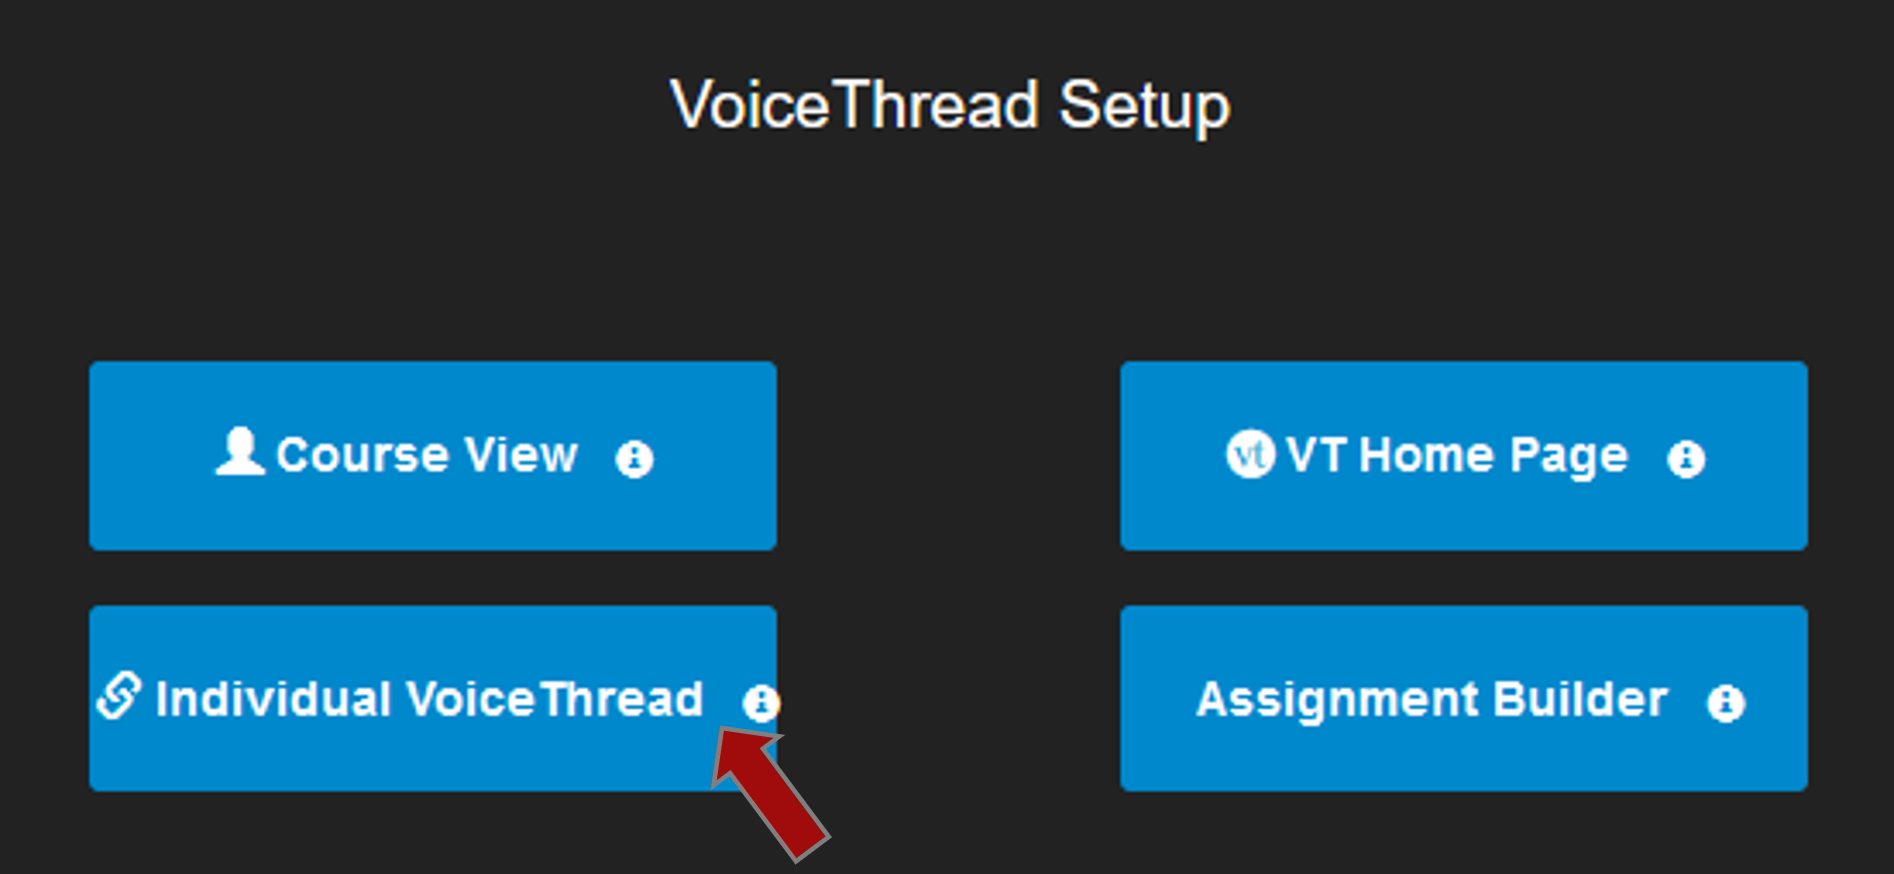
1. Click the VoiceThread link that you added to the course in Step 3. It will bring you to VoiceThread Setup page. Choose Individual VT button.

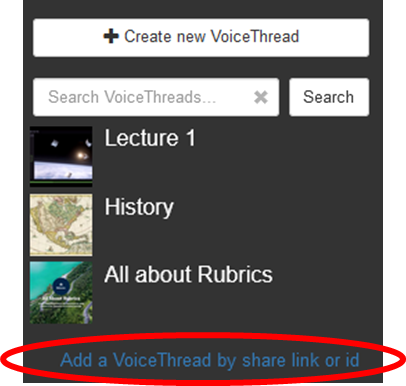
2. Click Add a VoiceThread by share link or id.

3. Paste the share link of the original VoiceThread to the box and click Add button.

4. Click Share with Class button to make it available for students.

