Zoom AI Companion, your generative-AI digital assistant, delivers powerful, real-time capabilities to help users improve productivity and work together more effectively. The Ai features must be enabled in Settings.
Enable Zoom AI Companion
- In the Zoom Dashboard, select Settings and AI Companion in the top tab.

- Review the Setting options for Meeting, Recording, and Whiteboard. Choose the best option for the meeting.
Meeting options:

Recording options:

Whiteboard options:

Using AI companion in a Meeting
With the AI companion settings enable, select AI companion in the bottom toolbar. Actions available will depend on the AI companion meeting settings.

Using AI companion in a Recording
With the AI companion settings enable, select Recording from the bottom menu (may be in the More button). If enabled, Smart recording will be visible in the Record menu and at the top of the screen once the recording has started. Actions available will depend on the AI companion recording settings. See Zoom Clips and Smart Chapters for more information.

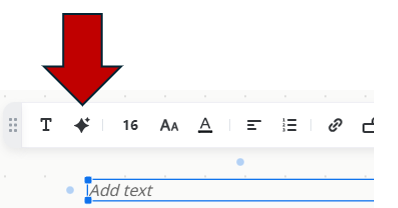
Using AI companion in a Whiteboard
With the AI companion Whiteboard settings enable, select Whiteboard from the bottom menu. If enabled, AI will be available in various tools from the side toolbar. The AI symbol will be present where AI abilities are available and options will change with the tool. See Whiteboard for more information.