1. In your Moodle course, click on the Participants link in the Contextual menu at the top of the page.

2. The Participants screen will open. Click on the Enrolled users drop-down box on the top, right-hand side of the screen. Find the Groups category and select Groups.

3. The Groups screen will open. There are two ways to create Groups at this point: Manual Creation and Automatic Creation.
To Manually Create Groups
1. Click on the Create group button.

2. Type a name for the new group in the Group name field.

3. Click the red Save changes button when finished.

4. Repeat this same process for as many groups as needed in the course.
5. To add students to a Group, click on the Group to highlight it, then click the Add/remove users button.
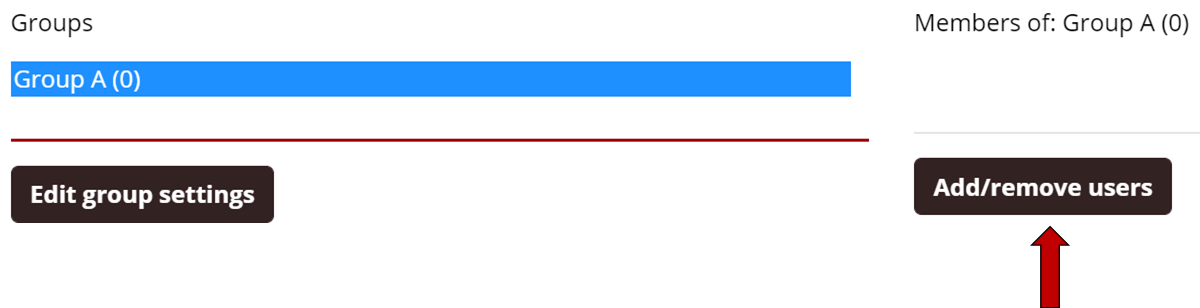
6. In the list of students on the right side of the screen, click a name to highlight it. Then click the Add button to add this student to this group.

7. Repeat this process as needed.
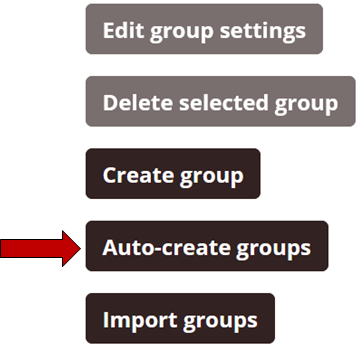
To Automatically Create and Populate Groups:
1. Click the Auto-create groups button.
2. In the Naming scheme field there are two options:
- Type "Group @" for the Group A, Group B, etc. automated naming system
- Type "Group #" for the Group 1, Group 2, etc automated naming system

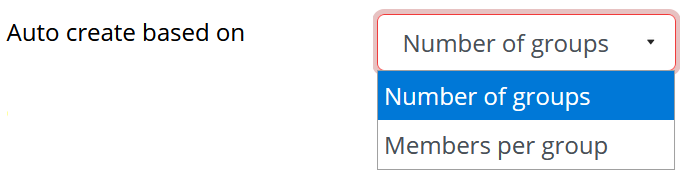
3. In the Auto create based on field there are two options:
- Number of groups: you define the total number of groups to create and it will evenly divide students into these groups.
- Members per group: you define how many students should exist in each group and it will create the appropriate number of groups.
4. The Group/member count field lets you define either the number of groups or the number of members per group based upon your earlier choice.

5. Click the red Submit button when finished to see the results.
