An Assignment provides an efficient method of collecting and grading papers from students.
1. Click on Turn editing on.

2. Go to Add an activity or resource.

3. Click on Assignment.

4. Enter a descriptive name in the Assignment name field. Type a Description (optional).

5. Type Activity instructions. The actions you would like the students to complete. Only shown on the submission page.

6. In the Additional Files area, drag and drop or use the File Picker to add files students should download to complete this assignment. (If needed).

7. Click on Upload a file. Select Choose File and find the file to uploaded. Save as.
- Select Choose File and find the file to uploaded.
- Select Save as to give the document a name in Moodle
- Upload this file when complete

8. Click the Availability heading to open it and configure:
Allow submissions from: enable to select a date/time that students can start uploading their submissions.
Due Date: enable to select a date/time that will appear on the calendar for this assignment. Submissions made after this due date will be accepted, but marked late.
Cut Off Date: enable to select a date/time after which no submissions may be made.
Remind me to grade by: enable to receive a reminder email and Dashboard message.
Always show description: If disabled, The assignment description above will only become available on the "Allow submissions from" date.

9. Click the Submission types heading to configure:
Submission types: select either, both, or none of the options Online text and File submissions.
Maximum number of uploaded files: set a limit to the number of files per student.
Maximum submission size: set a limit to the file size.
Accepted file types: enter the allowed file type, such as PDF, .docx, .pptx, etc. Moodle will prevent students from submitting the wrong file type. If left empty, then all file types are allowed. PDF is recommended.

10. Click the Feedback types heading to open it and select from the following options:
Feedback comments: allows feedback to be typed directly into the grading screen.
Annotate PDF: if a student submits a PDF, allows the instructor to draw and add notes directly onto their submission.
Offline Grading Worksheet: allows the instructor to download a spreadsheet, fill it in with grades and feedback, and then upload the completed spreadsheet.
Feedback files: allow the uploading of feedback documents into the grading screen.
Comment inline: If enabled, the submission text will be copied into the feedback comment field during grading.

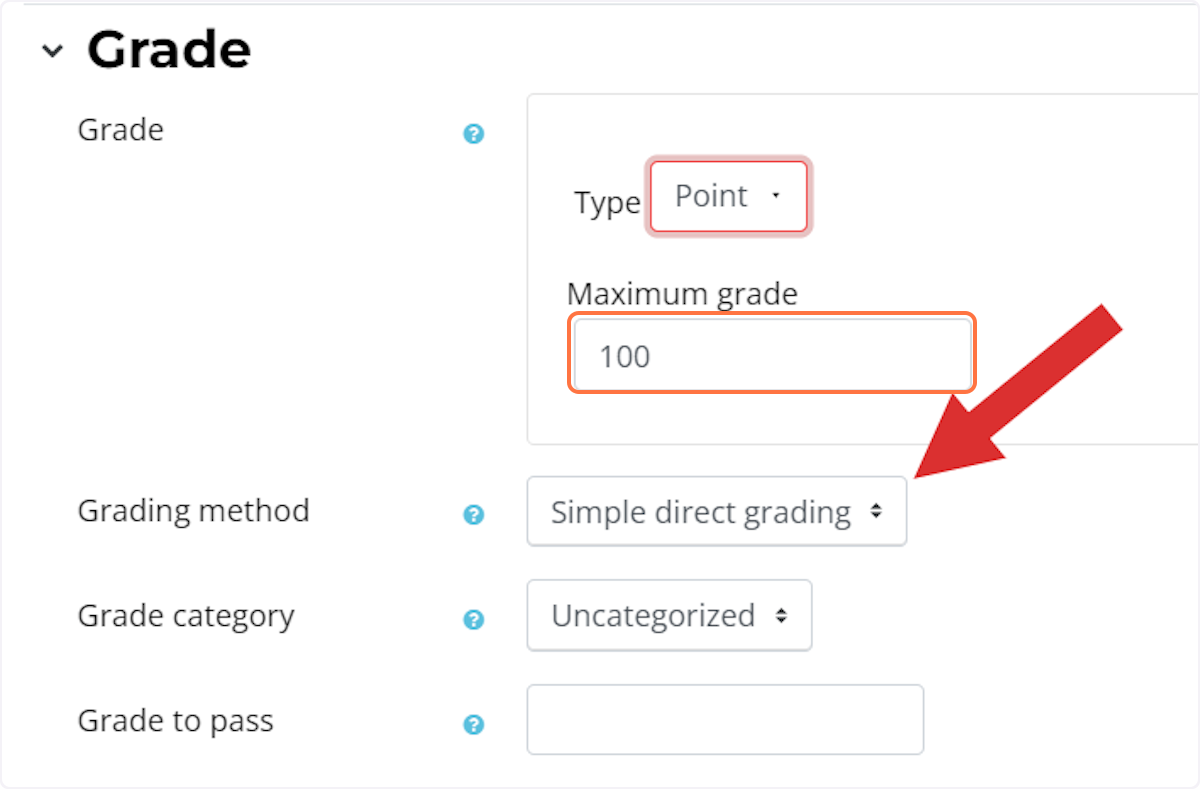
11. Click on Grade.

12. Select the Grading Method:
Simple direct grading: the instructor enters an overall grade for each student
Grading Guide: the instructor uses a set of generalized criteria to provide grades within a set range. Read instructions to set up a Grading Guide.
Rubric: the instructor uses a rigid set of criteria to provide pre-set point values. Read instructions to set up a Rubric.
13. Completion conditions. Click to learn about Activity Completion in Assignments

17. Choose Save and Display to immediately set up a Grading Guide or Rubric.

Return to Assignments (Main) for more information.